Windscreen Fairing #1

Time: 8 Hours

The windscreen needs a transition to the fuselage made with fiberglass. It also needs to create a transition from the windscreen to the canopy to close the gap between the two parts. This is a multi step process and a scary one as well. First up for me was to identify the dimensions of the fiberglass area and line that with some electrical tape. 

Now that I had the shape I wanted I needed to do some serious etching of the aluminum and windscreen where fiberglass will attach so that it will adhere better. I started with 220 grit to get rid of any shiny area then I followed it with 80 grit to really scratch all of the surface area. 

Keep in mind that all this time I have been working hard at not scratching my aluminum and canopy and now I go and do this step was pretty scary. The plan is to have a nice transition between the forward skin onto the windscreen. Vans calls for a 4″ radius to be a good for the curve between the two parts. To help with the void at the junction of the windscreen and skin I’m using a epoxy/flox mixture that will provide structural support and start the shaping. Since this application will be seen from inside the windscreen looking out I’m dying it black. I mixed up a batch and applied it to the area and built up the sides where the transition to the canopy skirts is off. 

After the filler cured I did some touch up sanding to knock down a few high points. I then cut seven strips of fiberglass at different widths starting at 1/2″ increasing in 1/4″ increments until I got to 2″. 

These were long enough to go from the left side to the right side of the froward edge of the windscreen. I prepped the cutting board with plastic and mixed up some epoxy with black pigment. 

I worked quickly and wet out each strip and placed in position starting with the 1/2″ and worked my way up. 

I covered all this area with ply peel to help with the surface and will let it cure over night. This is the first of several posts that will cover this process. 

Glare Shield

Time: 2 Hours

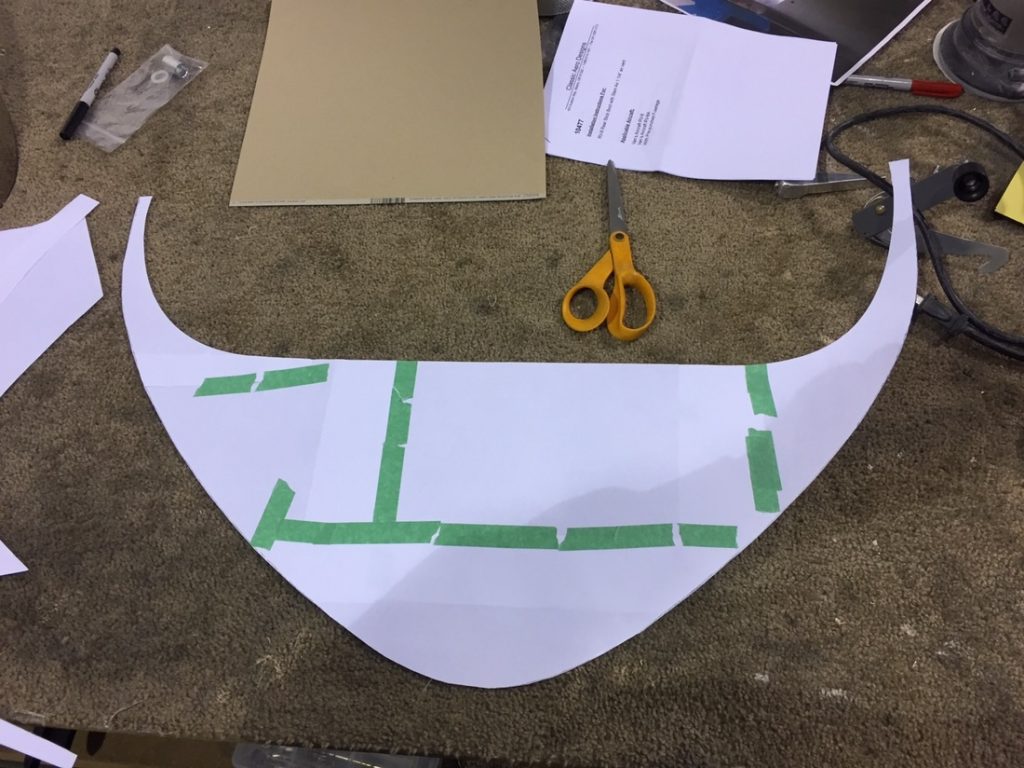
Under the windshield lies a section of the forward top skin that needs some form of treatment. Some builders just paint it flat black to help prevent glare. I decided to go one step farther and adhere a faux black leather similar to our Lear jets. This step needs done before I fiberglass the windscreen in permanently. I went to the local fabric store and found a nice black fabric that feels like leather with a little bit of padding built in. To start I needed a template for the space I would apply it. With the windscreen in place I traced the outer edge as it meets the top skin. Then I removed the windshield and began to make a paper template tracing the line I just made as well as the aft edge. 

Once I had all the lines drawn I cut the pattern out. 

With the template I traced/cut the fabric with my sharp rotary cutter and checked the fit. 

A little iron work is needed to smooth out the fold marks. After I got the wrinkles out I masked off the area that would get adhesive and scuffed the skin. 

I then cleaned the surface good and sprayed the 3M contact cement on the skin and the back of the fabric. 

After a few minutes to let both sides get tacky I laid the fabric in place. Luckily this cement is forgiving and allows you to lift and move as needed before getting stuck. 

Wow I love how this looks and I’m real pleased with how easy it was to put on. I cleaned up the windsreen and put it back in place so that I could make sure all the fabric was inside the line. I had just a couple of spots that needed trimming with a sharp razor. 

After the windscreen fiberglass is all done I will decide if I need to do anything with the junction between the windscreen and fabric on the inside. 

Experimental Sticker

Time: 0 Hours

I spent a little time with my vinyl cutting machine and  designed my “experimental” sticker. The regulations require that a placard identifying that the RV-8 is experimental must be placed where anyone entering the place can see it. For most RV-8’s it gets put above the passengers right armrest on the side panel.  I made mine out of satin black Oaracle 651 vinyl and also added a placard, based off Jason Beavers, just under the word experimental. 

FlyBoys Canopy Latch

Time: 2 Hours

When you fly the RV-8 without a passenger it is pretty hard to reach all the way back to grab the canopy and slide it closed. So builder usually put some sort of stop so that the canopy catches and stops just behind the pilot which makes it easier to grab and close. I decided that I like the FlyBoys latch and this is how I installed it. The idea is that there is a free swinging teardrop shaped plastic piece that gets bolted to the canopy frame at the roller connection point. FlyBoys gives you the required pieces including a machined piece that shapes around the round bar of the frame and makes a squared attachment point. 

Now you have this part that hangs down and swings freely as you move the canopy forward and aft. The second part is a hook shaped piece that will act as a catch. 

This piece can be attached to the side of the cockpit rail just below the canopy rail anywhere along the length of it as you desire. First I followed Matt Dralles plans and added a piece of sheet aluminum under and on top of the hook to space it just right so it aligned with the teardrop piece and give it some strength. I used the predrilled holes to match drill the sapacers. 

After I had the them drilled I clamped it in place centered between the rollbar that is right behind the pilot seat. 

I match drilled all three parts to the rail side, debuted and screwed them in place. 

So how this latch works is as you slide the canopy forward the hanging latch goes over the hook at an angle clearing the hook. You stop sliding forward at that point and slide the canopy back allowing the latch to catch on the hook.  

To clear the hook and slide the canopy all the way you just need to slide the canopy forward enough for the latch to drop down on the forward edge of the hook. Then as you slide the canopy aft the latch will angle the opposite way and pass right by the hook. 

Here is a link to a video that Matt did showing the action of the latch. This works really slick and smooth.  I’m going to add another hook somewhere forward of the first on to allow the canopy to be held open 6″ or so for taxing or when it got out as the plane sits on the ramp. 

Classic Aero Seats

Time: 0 Hours

I had ordered my Classic Aero seats, arm rests and stick boots a couple if months ago after a long thought out process of the style, color combo and layout. After my better half (Tricia) weighed in I decided on the Aviator I seat design in a two tone leather. The body of the seats would be a dark gray with an inset of red. The darker gray was a nice contrast to the lighter gray paint of my interior. The red will tie into my final P-51 paint scheme. I also ordered a set of arm rests for the passenger seat and a custom set of arm rests for the pilot seat since I made custom side panel/arm rests. I also ordered matching stick boots for both the front and back seats. The back seat boot/cover does a nice job of covering up the opening where the stick connects to the controls. In this cover they cut a hole for the vent and make a special bracket to hold the larger aluminum vent from Stein Air. I also had them cut an opening for the passengers seat heat on the opposite side of the vent. The last thing I had them make was a small pad that I will stick to the rear bulkhead for the passengers head. This will prevent the passenger from banging their head but is small enough to not be an eye sore. I’m very happy with how all these turned out and the quality of workmanship is outstanding. They are pricey but in my opinion they are worth every penny and Jeremiah was awesome to work with and answered all my questions. While I was ordering the seats I also ordered my Hooker Harnesses from them since they were able to match the colors to the leather.