Pitot Staic Line

Time: 8 Hours

I needed to run the pitot(airspeed) and AOA(angle of attack) lines inside the fuselage and the left wing. I decided where I wanted to run the lines and drilled for two snap bushings at each bulkhead as they went aft from the fuselage side where they will make a 90° and exit to go into the left wing. Once I had the bushings in I ran the lines and secure them with zip ties as needed to keep them out of the way of things like the flap push rod. 


I also needed to reroute the two lines in the wing as I had originally followed the tooling holes in the ribs. The problem with this is it puts the lines exiting the wing too close to the wings spar. Glenn had already figured this out so I adjusted mine like his. I just change the location of the innermost rib snap bushings. In between the last two ribs I rerouted the lines to exit in a better location.  I used a #6 adel clamp to secure the lines to the rib. These lines will be cut to a perfect length once we reinstall the wings for the final time and slide thru the snap bushings in the fuselage side. They will attach to the two elbows that will be inside the fuselage. 

While I was working on the right wing and the pitot/AOA lines I decided to work on the wiring that I needed to run to the pitot and wing tip. On the right wing I will need a 3 wire harness to the tip for the land/taxi lights, a 3 wire(with shielding) harness to the tip for the NAV/Strobe and a 3 wire harness to the pitot tube for pitot heat. At the wing root I used plain Molex connectors as this area should be sealed up from moisture with the rubber seal that will tie the flashing to the fuselage side. Out in the wing tip I might get moisture thru the hinge that I have holding them on so I used Seal-All connectors form McMaster Carr to help prevent corrosion. With the NAV/Stobe I carried the shielding thru the wing root connector and left it un-terminated at the wingtip as per AeroLED’s recommendation.  I started with all the Molex connectors at the wing root and secured them with a adel clamp. 


When we go to attach the wings for the final time I left enough length on the fuselage side to be able to connect the wires with plenty of space as we slide the wings in place. Then as the wings slide into place the extra wire will be pulled into the fuselage and out of the way under the passengers foot wells. 
Once I had the wing root wires secured I moved to the outboard end to work on the weather proof ends. They work just like a Molex except the have a rubber seal that you put on the wire before crimping. Once the wire is crimped you crimp the seal to hold it in place. 

These seals fit nicely into the back of the connector and prevent moisture from getting in.

 Then there is a back peice that snaps into place to hold the wire and seal in place. 

I completed this process for both the land/taxi lights and the NAV/strobe lights and secured them with an adel clamps and zip tied the remaining parts in their bag to the harness so I don’t loose them for later. Then when I get my lights bought I will complete the mating end of the connector on the wires from the lights and make them long enough to connect them as I install the tips. 

I also ordered the Dunon ARINC module, the device that talks between the Skyview system and a certified GPS, so that I could drill and mount the nutplates to the bracket I made a while ago. I really didn’t need this part but I wanted to rivet the bracket to the fuselage and I needed the nutplates to be drilled first. 


So that’s where I stopped and called it a day. 

Flap Fairing’s

Time: 4 Hours

I got a little time in the shop after some work tasks that needed to be done. My goal today was to finish up the fairing’s that close the gap from the wings to the fuselage. All they needed was the edges to be sanded, holes deburred and the holes dimpled for #8 screws. That didn’t take too long and I forgot to snap a photo of the work. I moved on to the flap fairing’s which needed the same work except the dimples were for flush rivets. After the edges were done and holes dimpled I scuffed up the inside surface and primed them. 

While those were drying I dimpled the matching holes on the fuselage using my blind rivet dimple set. 

When the primer was dry I worked the edges to get them to lay tight against the fueelage using my edge roller. Once I was happy with the fit I clecko’ed them in place to rivet. I was able to get about half of them by myself using the bucking bar and rivet gun. Once my buddy Glenn got to the shop I borrowed him to help finish the rest of the rivets. 

I was real happy with how they turned out as they have a lot of curves and can pose a problem getting them to sit flush. Not a lot to show but progress. Any task on the RV-8 is a good one and one step closer to the end. 

Wing’s Off

Time: 10 Hours 

This weekend was another big milestone – I removed the wings! These won’t go back on until the paint is done. To prep for this task I had just a few items to take care of. The first was to drill all the holes that hold the wing/fuselage flashing on to a #19 for the eventual screws that will go there. Then I removed the flaps and ailerons to make the wings a little lighter for lifting. 


Then with a couple of hits to the temporary bolts that were holding the wing spar along with Glenn moving the tip of the wing up and down to take pressure off the bolts they slid right out. We then lifted them off the fuselage and put them back in their cradle for the remainder of work needed on them. 

Wow that was fun and I have so much more room to work now! One of the avionics I will have in my instrument panel is the Garmin GTN-625. This is a certified GPS navigation source and is the little brother to the 650. The only difference is that it doesn’t have the COM/NAV portion like the 650. All I wanted was the GPS enroute and approach capabilities. I have two Dynon radios and I will never do an ILS or VOR approach in this plane since RVAV/GPS approaches are all over the place.  Plus I didn’t want to put any mor antanaes on the plane. I won’t buy this unit until I’m all done but I did want to wire it now. There are three things that I needed for this. First is the tray that the unit will actually slide into and supports the unit. The second is the backplate which houses all the connections and the third is the connector kit that allows you to run wires to the backplate. I got these from JA Air in KARR where I fly out of. They had the tray but had to order the rest for me.


 So I moved on to attaching the tray to the instrument panel. It will be connected with four screws that will go into the brackets that SteinAir gave me when they cut the panel. I drill them for four #6 nutplates for the screws to go into. 

I squeezed a few rivets and the nutplates were done. 

I test fit the tray to make sure all was well and it looked great. 


Now that the panel was all done I was able to paint it for its final install. When the paint was dry I screwed in the Garmin tray and put them both back in the RV. 


I then decided to do a little wiring one was to remove the ARINC harness that I had originally built and run from the module up to the panel area. The reason is that SteinAir recommended sheilded wire which I didn’t use. 

So I rebuilt it with the correct wires, 22g two conductor wires. One for the TX set of wires, one for the RX set of wires and one for the serial line. While I was up messing with the wires behind the panel I decided to clean up the two Dynon screen harnesses. I have one for the 10″ and one for the 7″ screen. There were a few sets of wires that I wasn’t sure I would use or not so I just left it all hanging for the time being. They leave wires for contactor inputs if you so desire, all mine will be going through the VP-X so I won’t need them. The other set was for another serial input and those won’t be needed either. The last wire was for dimming capability from an outside dimmer control that I wasn’t going to use. So I gathered up all those wires and made a tight coil and zip tied them to just hang behind the screens after the install. I also zip tied the rest of the harness wires to clean them up leaving the GPS antanae wires out. I decided to terminate these wires in a connector so that when I finally decide where I will put the antanae I can just run the wires to the pane and plug it in. 


Now all that needs to be connected to these harnesses is the backup battery’s and the USB ports. It always seems that when I’m working on a task I see other items in that area that I want to work on. This was the same here as I was standing on the left side of the fuselage by the panel. When I installed the ELT remote head with tiny screws and nuts a while ago I didn’t think that I would ever have to remove that this after the RV was finished, but I found out that those part has a battery in it (I thought the one in the speaker housing was it).  The possibility of getting those little nuts in place in the blind would be impossible. So as I sat there looking at he back of the panel I had an idea. These 4-40 screws are small and don’t need to be very tight. I decided to grab some 1/8″ thick bar and cut two small peices, one for the left side of the ELT opening and one for the right. I drilled and tapped them using the ELT holes and used some of my T-88 structural adhesive to bond them to the back of the panel side peice. Now to remove the ELT remote I will just have to unscrew the screws from the front and not worry about nuts on the back. 

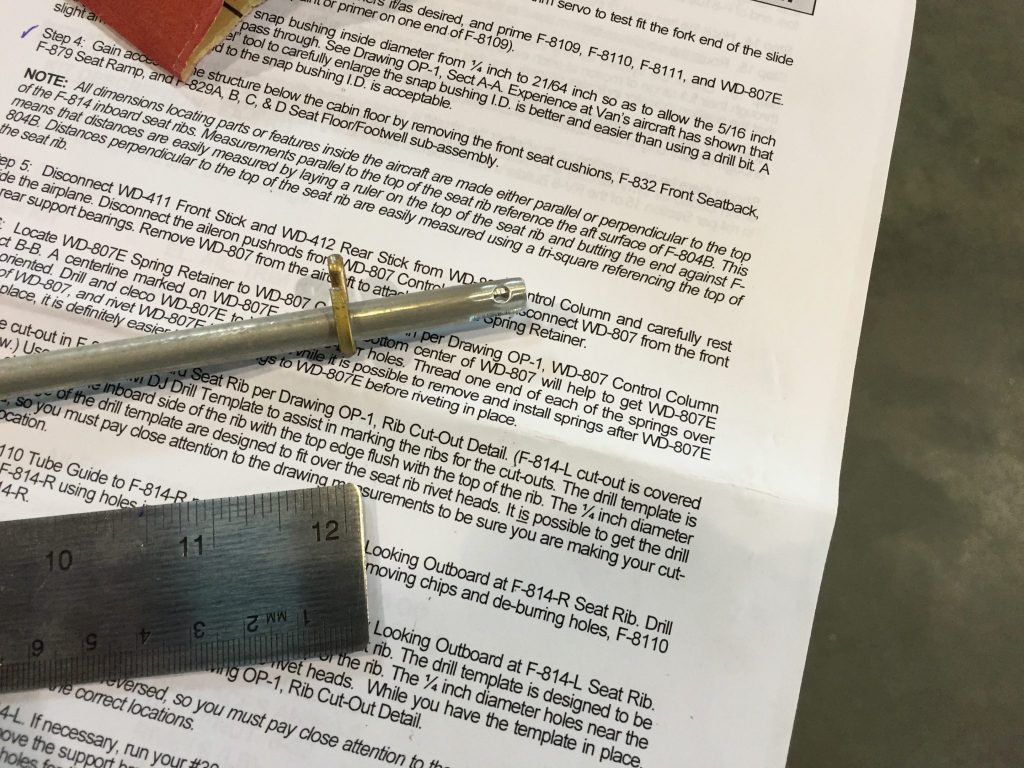
I was still in the mood for wiring, and not sanding fiberglass, so another task that I had been putting off was the roll trim motor wiring and install I will have pitch trim which is in the left elevator and roll trim which is in the floor just by my left hip as I sit down. There are five small 26g wires for each of the trim servos. Two are for the movement wither in or out based on which wire is getting power. The other three are for the trim indication, mine will be a widget on the Dynon screen that gets produced by the EMS(Engine Monitoring System) which has a bunch of blank inputs that you can use for items like this. To connect these tiny wires as they get to the servos I’m using RC aircraft/car micro connectors that Glenn used on his. The current that these carry is really low so these connectors work great. The down side is that they just have little prongs that stick out that you have to solder the wires on to. This meant that I would have to solder inside the fuselage bent over the edge. Glenn’s soldering clamps worked well for this. First up was to cut and drill the push tube based of the dimensions in the plans. This rod has two large cotter pins that act as points for springs attach to. Then the springs attach to the bottom of the control column tube. This rod slides into a bushing on one end and connects to the servo on the other with a pin. Then the rod moves left and right as needed but the springs allow the pilot to override the trim or just to use the controls when the trim isn’t working. 

I then test fit it all in place to make sure the movement was not binding. 

Then it was off to getting the connectors soldered. I made sure to put on shrink tube for the whole wire run, the shrink tube label and the small shrink tube to cover the individual soldered wires. 

I made sure to line the wires up on the servo so they matched the wire run and soldered them. 

With the wires all soldered I made the connection from the rod to the servo. 

More Fiberglass Work

Time: 8 Hours

I have been slowly working on all for the fiberglass parts on the wing tips and VS/HS. The forward peices just ahead of the elevators and rudder are proving to be a pain to fill. Getting into the areas between the flanges is a littl tough. I’m using a larg popsicle stick with sandpaper glued to it to get into these spaces. These areas will probably take a couple of try’s to get just right. Man do I hate sanding fiberglass! On a side note I did get my AeroLED taillight from Aircraft Spruce this week. I was planning on using a watertight connector for this light since it will be in the bottom of the rudder and will be exposed to water from time to time. The problem was that the area in the aft end of the rudder bottom fiberglass gets pretty tight before the flair for the light. The issue with that is this peice will be riveted on and I will have to slide the cable in from the front and make it back to the hole. With a large connector it was impossibe. So I just used a small 5 place Molex connector that is easy to slide into place. 


I will figure a way to waterproof it after the connection between the light and harness is made. Maybe a long peice of shrink tube that covers the connector will do the job. While I was letting some epoxy cure for the next day I moved on to a little task on the flaps electrical connection. There is a side panel on the left side of the passenger seat that will cover up the flap motor. This creates a space behind it that I was able to install a two place terminal block to allow easy connection of the flap wires. This block will be screwed down to the floor that will eventually be permently riveted. I located the perfect spot and drilled for two #8 screws and riveted a couple of nutplates for them. 


I removed the terminal block and crimped the terminals on the two wires for the flap motor and the two wires from the VP-X.  Then I connected them for continued use of the flaps without the floor. 

I finished up a few fiberglass filling jobs as well. 


One fill job is on the bottom of the rudder where the fiberglass cap goes around the rudder cable attach horns. 

I have a lot of filling and sanding to go but I’m just going at it one step at a time. A few more standings on the wing tips and I’ll be able to call them done and be able to remove the wings. 

Flap Sensor

Time: 1 Hour

I did some organizing and shop cleanup yesterday and did a little work on the flap position sensor that I had worked on a while ago. My main goal was to clean up the bracket I made and to finalize the wire connections. I decided to use d-sub pins, male on the sensor side and female on the wire run side, to make the connections based on recommendations on the vansairforce.com forums. These are small and light and work well with the very small 26awg wire. To hold them together I used small shrink tube which worked well. I also ran the wire aft and down following the smoke system pressure line. 

I like how clean this looks and will be easy to cut the heat shrink off over the d-sub pins to do maintainance or remove. I also put a nutplate in place for the screw that holds the sensor bracket to the bulkhead rather than a screw and nut. That’s because I forgot that this area will be covered by the baggage floor pan and will make it inaccessible.