Right Wing Done!

Time: 7 Hours

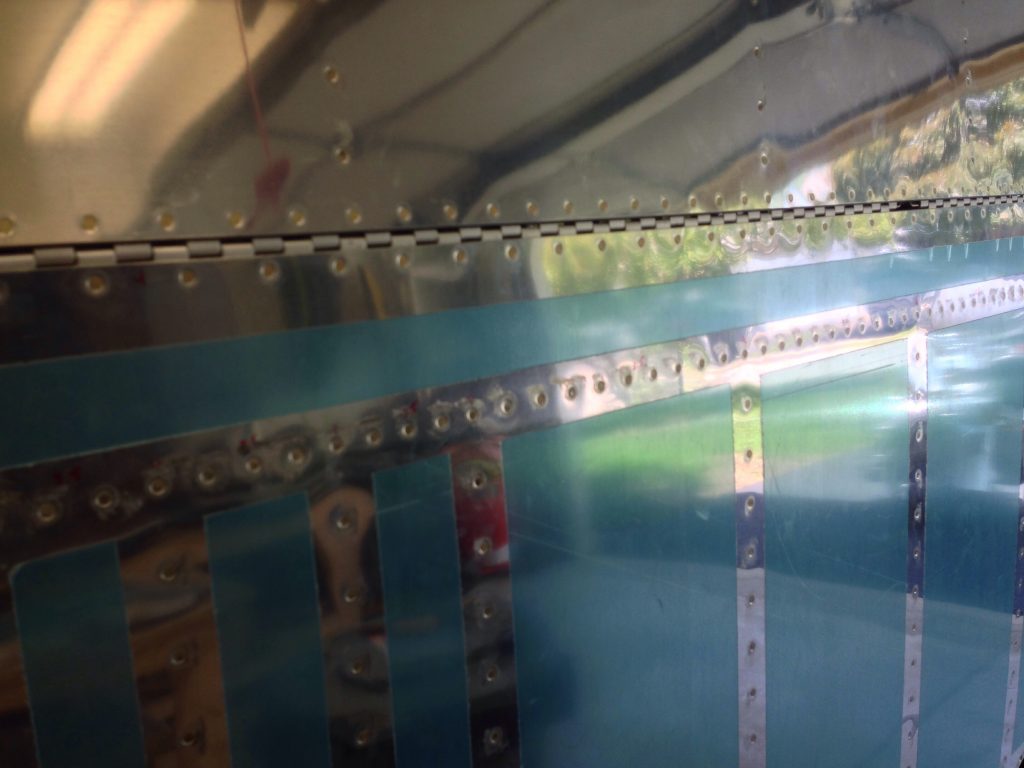
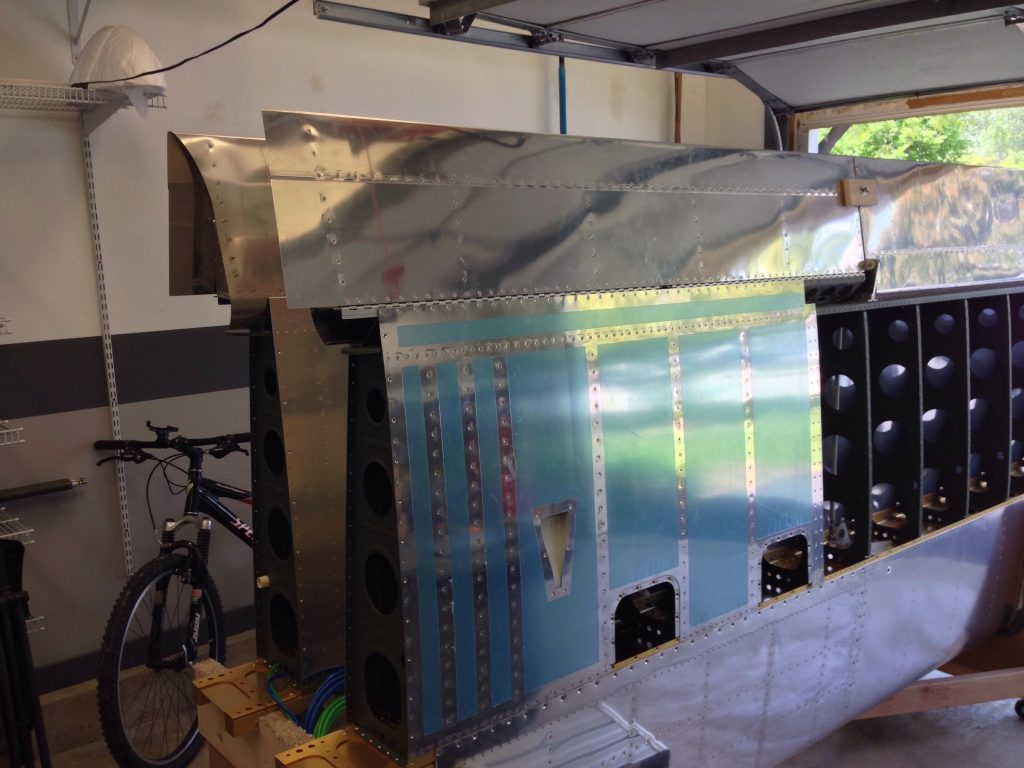
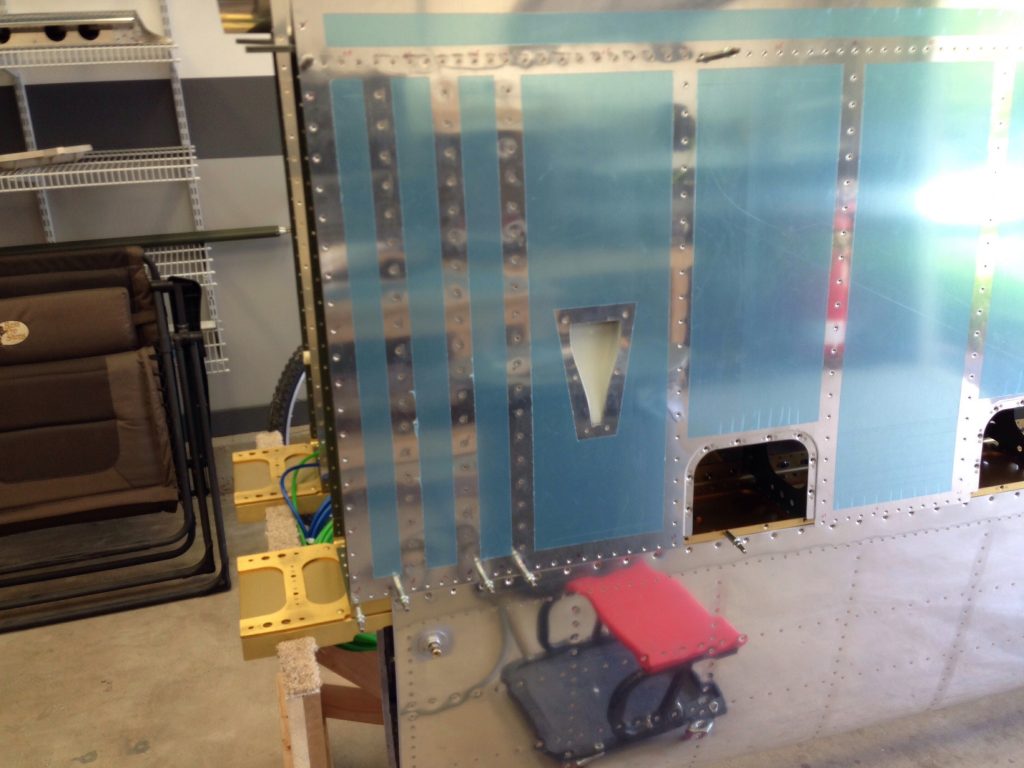
I had some office chores today that kept from the Hangar until after lunch. When I did get there I had only one goal, get one wing finished. I started the riveting at the overlap of the outboard and inboard skin where they meet the rear spar. I worked along the spar and down the ribs(forward) as I went.

20140606-200601-72361629.jpgAfter the first two bays or ribs I could no longer reach the holes via the access plate hole. So I used an idea from another builder and pulled the skin away from the wing and held it with some Gorilla Tape. This allowed me to stand on the inside if the skin and rivet. Riveting the ribs was a breeze like this but the run along the main and rear spar got increasingly more difficult as I got closer to the next rib.

20140606-200926-72566336.jpg

20140606-200924-72564982.jpgThey all turned out pretty nice as I went along. I took plenty of breaks as it was a lot of bending and stretching as I went along.

20140606-201107-72667241.jpg

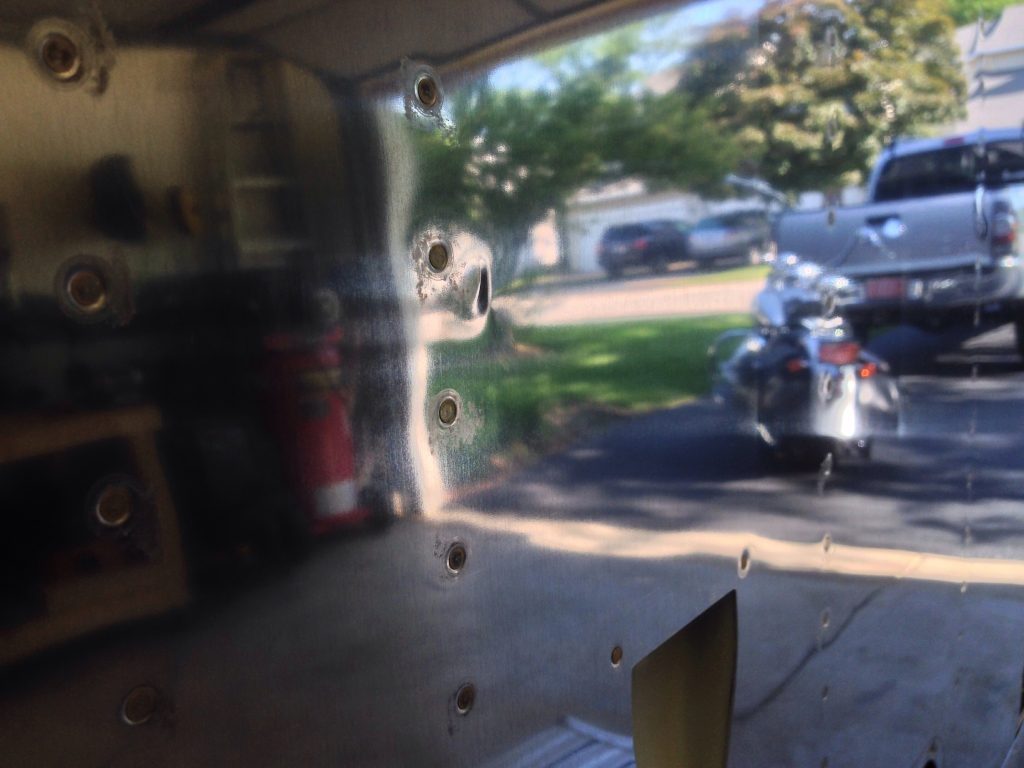
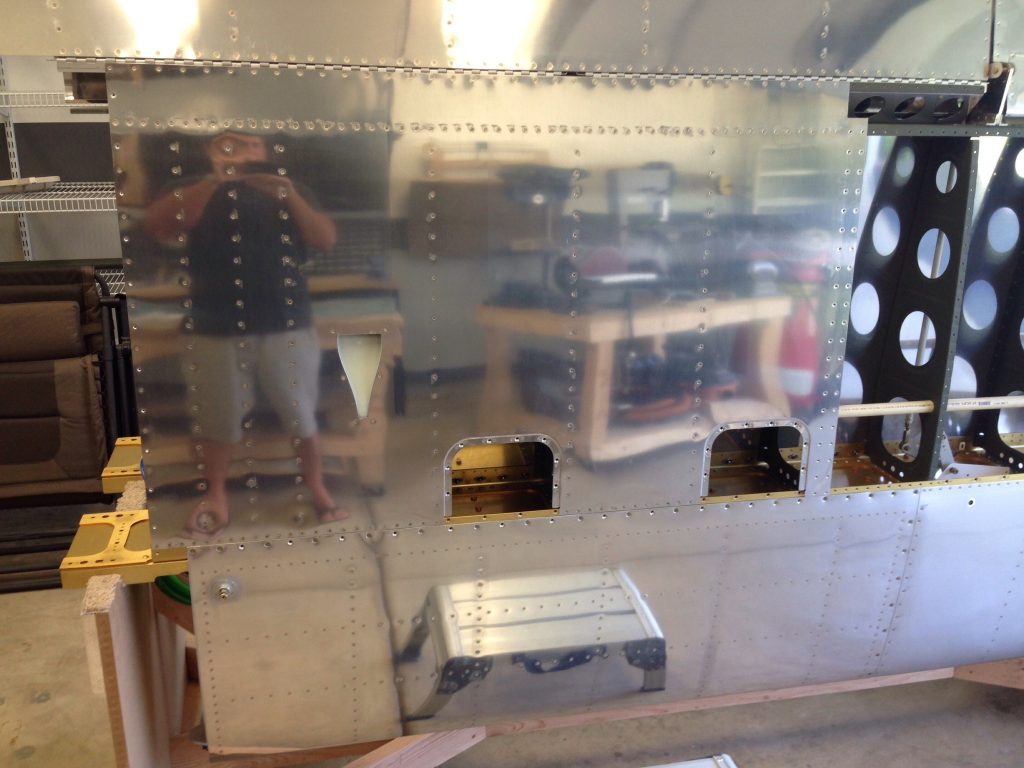
20140606-201108-72668628.jpgI was pretty happy with myself that I hadn’t made any dings, oops for thinking that, as I had only 12 rivets left to do on the very outboard rib I let the bucking bar slip and made a nice little tent/dent on the skin. Ugh oh well this is the bottom and a painter will make that disappear. I finished up by removing the flap so I could get to the rivets on the hinge and this skin. This I hit with the squeezer pretty fast. I reattached the flap and pulled all the blue film off. With a few rags and my cleaner I had the wing looking pretty nice. I also grabbed the access hole plates and put them on with a couple screws.

20140606-202818-73698341.jpg

20140606-202926-73766723.jpg

20140606-202928-73768089.jpg

20140606-202929-73769490.jpgI will repeat this whole process this weekend and finish up the left wing. Technically they won’t be completely done until the fiberglass work is done but I will wait to do that near the end of the build I think.

Pitot Mast

Time: 5 Hours

Today’s task was to install or temporally install the SafeAir pitot mast. This will eventually hold the pitot tube for my airspeed indication. I plan on using a Dynon heated pitot tube that has a AOA capability built in. There is no reason to buy that now as I can’t drill it until the wings are on and I get the plane into a level flight position as you need to adjust the pitot to be level with that attitude. But I can install the mast now so that was the plan. I went over to my friends to take a loom at his and make sure my plans were valid on where I needed to mount it. From there it’s easy as they give you a template to use. First was to cut the template out and make some reference lines on the skin from the edge of the main spar.

20140605-142235-51755506.jpgbr />
20140605-142236-51756893.jpg

20140605-142234-51754073.jpg

20140605-142603-51963862.jpgI then aligned the template on the skin after I applied some blue tape to protect the skin.

20140605-142936-52176167.jpgI then used the template and traced the inside of the cutout. After removing the template I used my unibit to drill a hole at each end that was close to the radius of the ends. I then removed the blue tape and replaced the template to use as a guide for cleaning up the edges close to the outline.

20140605-172526-62726191.jpg

20140605-172524-62724931.jpg

20140605-172523-62723579.jpgI used my Dremal to do the work using various bits, the best being a 1/4″ drum sandpaper bit. I would work a little and then place the mast under the skin to see where I needed to remove material. As I got close I switched to using my hands and some 180 grit sandpaper. I’m real happy with the fit and I have a pretty even gap around the whole mast.

20140605-172827-62907760.jpg

20140605-172826-62906431.jpgI then checko’ed the skin back on the wing and slid the mast into position. I used my deep reach vise grips to clamp the mast into position. Once I was happy I had it just right I used my 12″ drill bit to match drill the three holes along the spar. I then slid the template back over the mast and used the two marks to drill the aft holes for the mast. I just want through the skin and marked the mast. I then removed everything and finished the drilling on my workbench.

20140605-173256-63176844.jpg

20140605-173255-63175533.jpgI had to countersink the two aft holes in the mast to accept the dimples from the skin.

20140605-173406-63246209.jpgAfter getting that done I decided to mix up a little ProSeal to put on the inboard and outboard end of the electrical conduit. This is just to make sure it never moves. I just used a popsicle stick and smeared it around the tube along the inside edge of the two ribs.

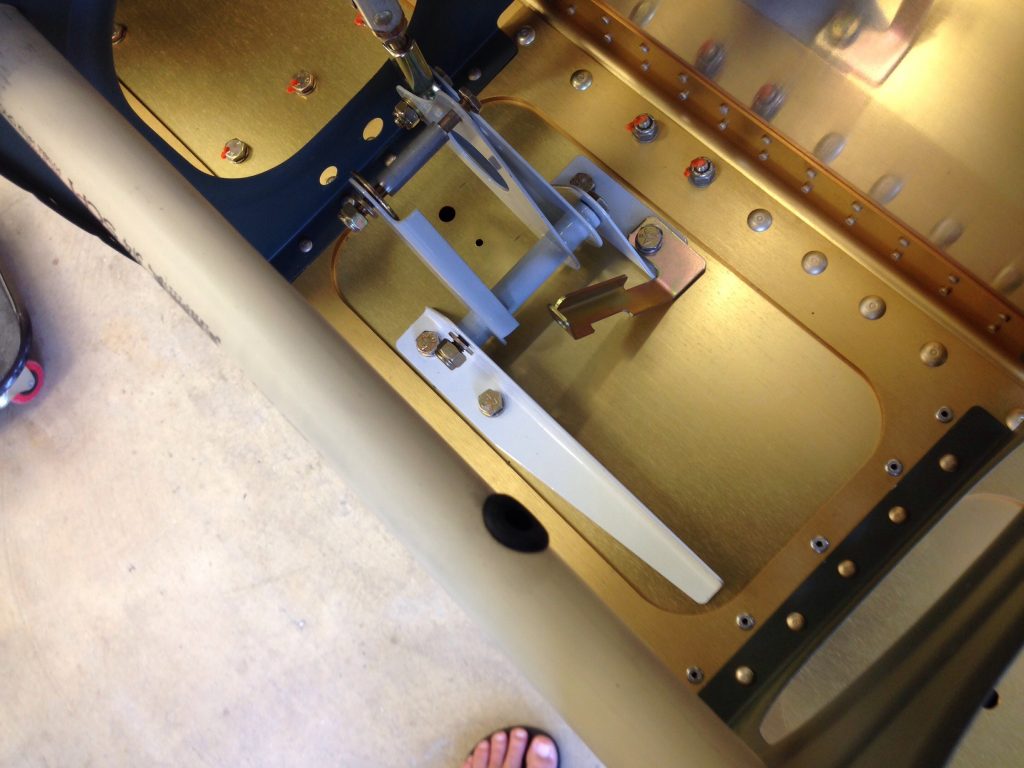
20140605-173651-63411995.jpgBefore putting the skin back on I wanted to work out how the pitot/AOA tubes run through the bell crank. I have seen several different ideas using clamps or zip ties. I decided to make an angle bracket the would tie to the two outboard bolts of the bell crank in which I could put two snap bushings in to hold the tubes. This is what I came up with and how it looks installed.

20140605-174558-63958679.jpg

20140605-174617-63977403.jpg

20140605-174635-63995765.jpg

20140605-174700-64020312.jpg

20140605-174901-64141978.jpgWith those items done I only have one task left to do and that’s to rivet the outboard bottom skins. That will be my goal for the next 3 days.

Left Bottom Inboard Skin Done

Time: 4 Hours

I had some time yesterday after getting home from my flight to get into the Hangar to get some work done. I wanted to finish up the prep of the right side inboard skin. I needed to deburr all the edges, deburr all the holes, edge roll the overlapping edge and dimple all the holes except the outboard edge where the fiberglass tip will be installed. I also primed the inside edge of the access panel for the nutplates. When the primer was dry I installed the nutplates with the squeezer. I didn’t take any photos of this process as you have seen this plenty of times here but here is the finished product clecko’d on the wing.

20140603-214901-78541484.jpgI then cut 8 pieces of orange string to run through the conduit in the wings. Two of the pieces will run the entire length of the wing and two will exit through the hole I drilled in the bell crank bay. These strings will allow me to pull electrical wires through the conduit later. I tied off the ends so they will stay put until I need to use them later.

20140603-215306-78786593.jpg

20140603-215307-78787841.jpg

20140603-215309-78789100.jpg

20140603-215310-78790276.jpgI stopped there and cleaned up the Hangar as I had a 4am wake up call this morning to fly a trip. Every bit of progress is good progress!

Pancake Fly-In DeKalb, IL

Today we did out weekly breakfast out at the DeKalb airport since they were having a fly-in breakfast. Unfortunately we had to drive as our planes are in some form of building, :-). Nice breakfast and a lot of nice birds. One of which was an RV-8 that belongs to our EAA chapter and is in his phase 1 flight test hours. He did a beautiful job and seeing it really helps the build motivation, as if I needed any help. Believe it or not today was the first time I have gotten to sit in a finished RV-8 and wow what a great fit, I so glad with my decision to build an -8!

20140601-154720-56840278.jpg

20140601-154724-56844287.jpg

20140601-154722-56842891.jpg

20140601-154721-56841640.jpg

20140601-154725-56845529.jpg

20140601-154732-56852135.jpg

20140601-154729-56849445.jpg

20140601-154730-56850824.jpg

20140601-154728-56848169.jpg

20140601-154726-56846868.jpgI was a little tired and only wanted to do some light stuff in the Hangar today since I had 2 great days Friday & Saturday. First was to get the Cleaveland tie down rings into position and see how they fit. On the right wing it actually lined up just perfect, bottoming out just as the alignment was right, go figure. The left had a more threads in the block so I could hit the skin and pull it in before I could tighten it down. My fix is to put a threaded stop in first for the tie down ring to hit. I could then adjust the stop in it out to make the ring sit just right before touching the skin. I had to shave off a little if the length of the stop on the bench top sander/3M wheel to give me a little playing room. Worked like a charm and I love the clean look of these rings.

20140601-155815-57495269.jpg

20140601-155813-57493961.jpg

20140601-155834-57514563.jpgI then grabbed the remaining parts for the autopilot roll servo mount. I had purchased the bracket/mounting kit from Dynon leaving out just the servo. This way I don’t have a electronic part just sitting idle for a long period of time and reduce the possibility of future failures. I installed the elevator trim servo before I learned that this is a good idea and you should wait before buying them. The kit I bought has all the brackets needed and I installed those in sequence with the normal build. Today to installed the linkage that connects the servo to the bell crank.

20140601-160350-57830895.jpgThat’s where I stopped for the weekend and I’m pretty happy with the progress.
Right Bottom Inboard Skin Done

Time: 8 Hours

What a beautiful day here in Chicago, sunny and low 80°’s with a little breeze. I got out into the Hangar early this morning to get to work. I started out making the scarf joint where the two bottom skins overlap at the forward edge. This is so they meet the fuel tank skin close to flush. I just repeated the process as I did on the left wing by removing some material and testing the fit. It took several attempts but I think I have a nice joint now. Most of the day was back breaking and tweaking riveting just like the other wing. I will say that it went a little faster but not much. It is just a real pain bucking these rivets. I used several different bucking bars to get all the rivets. I bucked all the rivets except the inboard edge and the hinge line as I could get those with the pneumatic squeezer.

20140531-172742-62862389.jpg

20140531-172741-62861069.jpgAfter squeezing the inboard edge I quickly took care if the hinge line by removing the wing side of the hinge from the flap. Once all the riveting was done I grabbed the flap and reattached the hinge pins to both sides of the hinge and secured the flap and aileron with the blocking I made yesterday.

20140531-175334-64414161.jpg

20140531-175332-64412946.jpgI then removed all the blue film to clean up the skin. I made 2 small dings in the left bottom skin so I did better on the right as I only made 1 small ding. It looks worse in the photo than it really is. Nothing a good painter can’t fix and make completely disappear.

20140531-180015-64815871.jpg

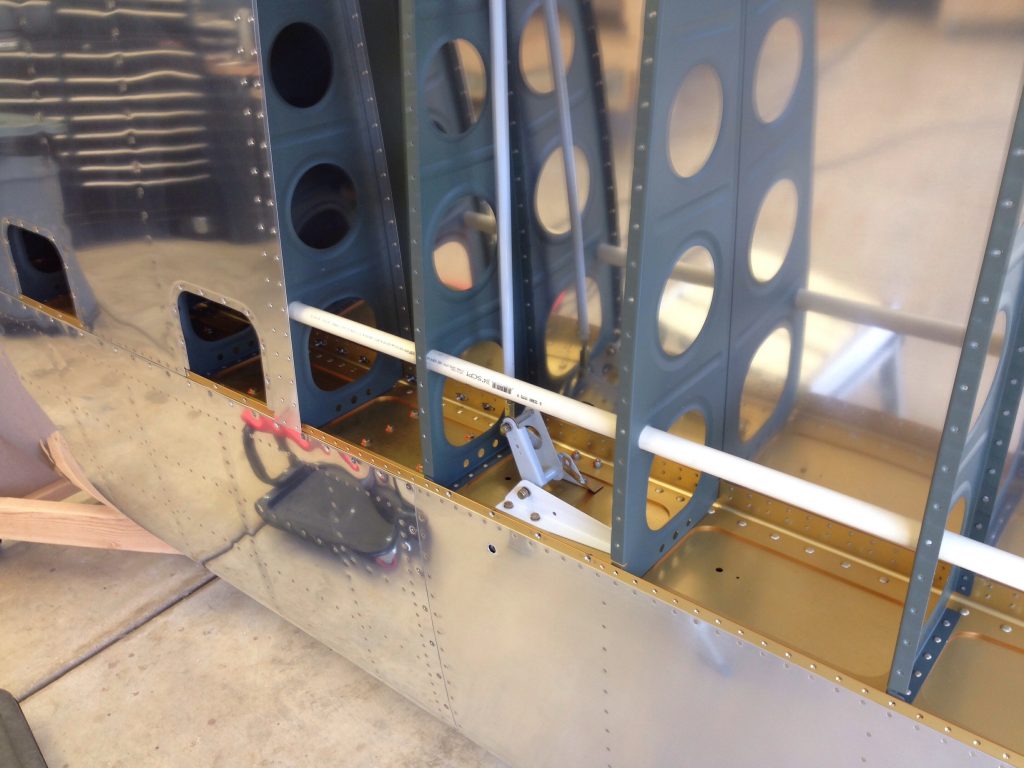
20140531-180014-64814552.jpgAfter I finished up that task I turned to the conduit for the right wing just like I did for the left wing. I copied the hole between the ribs where the autopilot servo will sit for the control of the aileron.

20140531-180359-65039556.jpg

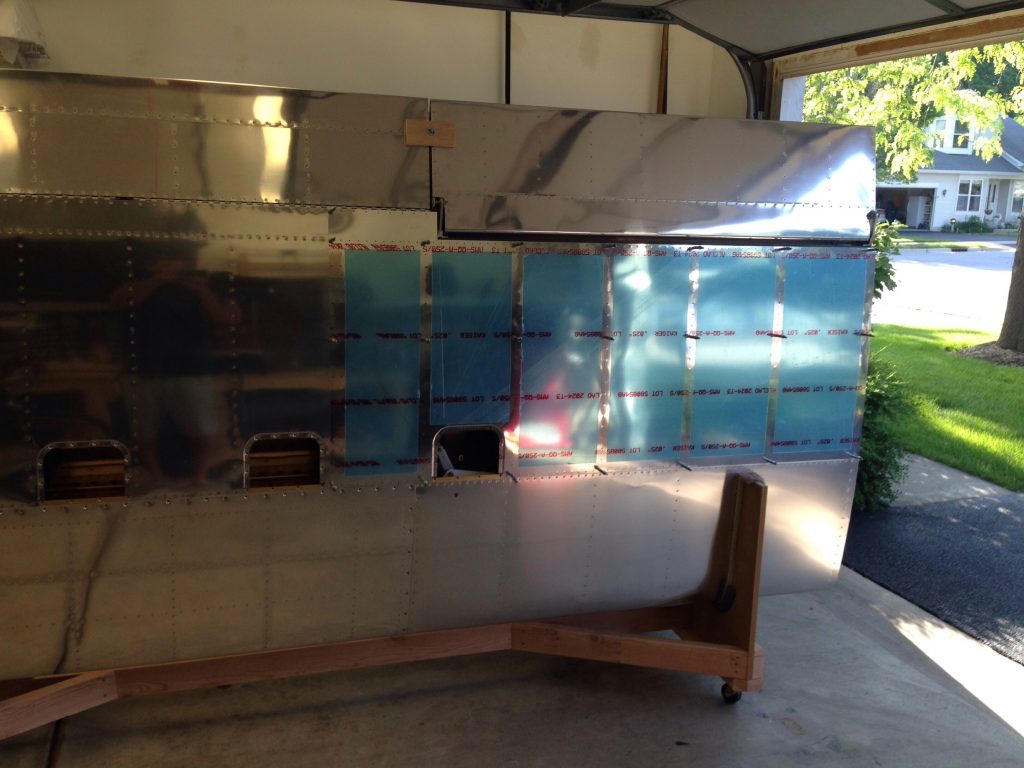
20140531-180358-65038334.jpgI started the prep, just removing the blue film, on the right outboard skin for tomorrow’s work and put the skin on the wing for safe keeping.

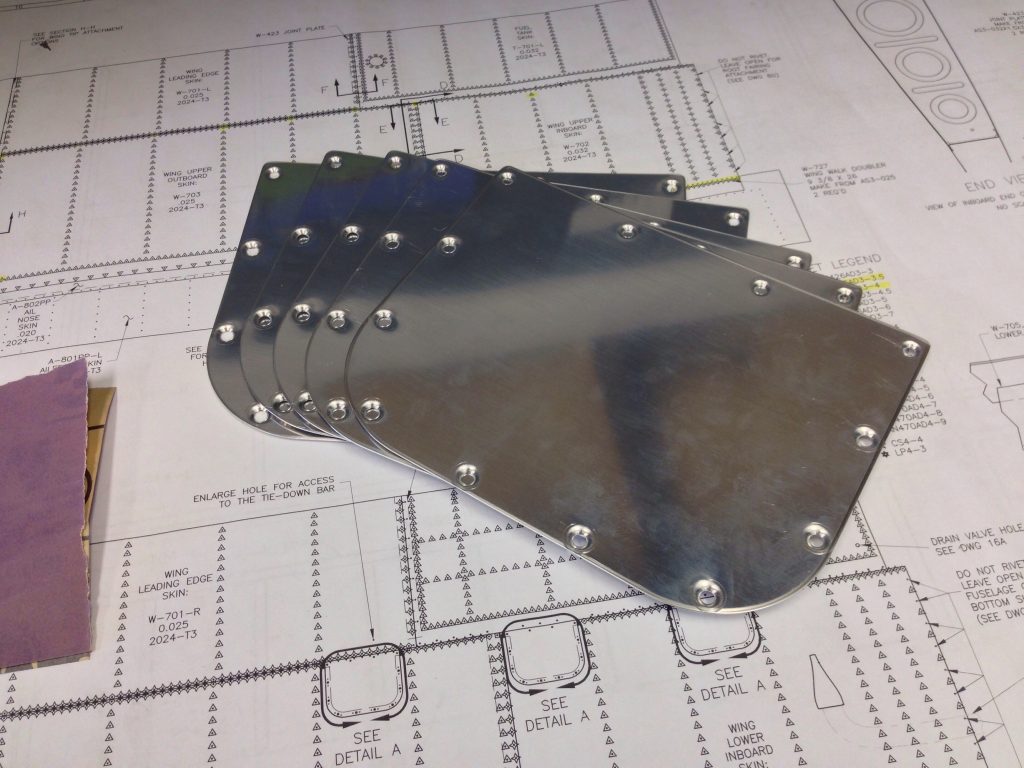
20140531-180509-65109456.jpgThe last item I did today was to finish up the access hole plates, I did 1 yesterday, so I needed to finish up the 5 remaining ones.

20140531-180700-65220900.jpgAnother good day in the Hangar! Now off for a little mountain bike ride this evening!